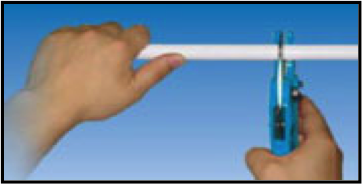
Step 1: Cutting
Using a Multec pipe cutter, cut the pipe square.

Step 2: Rounding and Bevelling
Using a Multec reamer, push the reamer into the pipe until the pipe touches the blades on the reamer. Turn the reamer once or twice to round and bevel the end of the pipe (this step is vital to protect the o’rings from dislodgement and damage).


Step 3: Installing the Fitting
Using the correct size Multec fitting, firstly check that the fitting is clean and debris free and that the “O-Rings” are in place. Insert the pipe into the stainless steel sleeve and over the barb on the fitting. The sleeves have inspection holes, ensure the pipe is pushed to the shoulder of the fitting and can be seen through these holes.

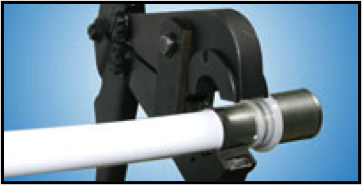
Step 4: Crimping
Using the correct sized Multec crimper, open the jaw of the crimper and insert the fitting so the sleeve part of the fitting is in the jaw and butted up to the plastic shoulder (but not over the plastic shoulder). Close the handles of the crimper until the handles are fully closed; at this point the handles will feel locked.
Open the jaws and remove the fitting.


Please Note:
Multec Piping System’s warranty is void if not installed by a fully Licensed Plumber, Gas-fitter (Contractors or Practitioner) or Registered Plumbers under the direction of a Licenced Plumber, in compliance with the relevant Authorities in each State of Australia and in accordance with all the relevant Australian and New Zealand Standards.
Product training can be arranged by filling out the training form on this website.
